The Fundamentals of React: A Comprehensive Guide for Beginners
The Basics of the React JavaScript Library

I am a lawyer, frontend developer and technical writer.
Introduction
In frontend web development, the technologies used are HyperText Markup Language (HTML), Cascading Style Sheets (CSS), and JavaScript (JS). Except for HTML, front-end developers use frameworks and libraries for time-saving and efficiency purposes. For JavaScript, the most popular frameworks and libraries are Angular, React.js, Vue.js, Svelte, and Next.js. In this article, we will be examining the fundamentals of React.js, or React.
What is React?
React is one of the most popular JavaScript libraries for creating efficient and interactive user interfaces. It is an open-source library developed by Facebook (now Meta). Developers use React to create single-page applications with less code than vanilla JavaScript. A single-page application is an application that renders other pages based on user interaction without the need for a reload. Read this article to learn more about single-page applications, including their benefits and drawbacks.
According to react.dev, React is also an architecture and is at the core of many other frameworks like React Native, used for building mobile applications, and Gatsby, used for building fast websites and applications. Also, React, when used together with frameworks like NextJS or Remix, can be used to build full-stack applications.
Why Learn React?
As stated earlier, React is widely popular in software development. This popularity stems from the fact that it is fast and lightweight because of its use of virtual DOM and reusable components. These two concepts will be discussed in another section. In addition, React is at the root of other tools like Next.js and Gatsby. As a beginner, these are some of the reasons you should learn React, not to mention the fact that in your next interview, you might be asked questions about React.
Prerequisites for Learning React
I assume that you want a soft landing for learning React, and this guide is intended to do just that. However, I should mention that before you proceed, you should have a working knowledge of HTML5, CSS3, and JavaScript, especially ES6 (ECMAScript 2015).
Since JavaScript is at the base of React, there are certain JavaScript concepts that you should be familiar with before diving into the world of React. These concepts are:
Installing React
To get started with React, there are two major ways to install it on your machine. You can either use create-react-app or vite. Using either of these two methods will help you build a React application from scratch.
Create React App
Using create-react-app is the most popular and most recommended, and we will be using it in this tutorial.
The first thing you need to do is make sure that you have the Node package manager installed on your machine. You can download it from this website. After you have downloaded the Node package manager, the next thing is to open your text editor. I use VS Code. In your text editor, open the text editor’s integrated terminal. In VS Code, the shortcut is Ctrl + ' in Windows and Command + ' in macOS.
In the terminal, type in npx create-react-app [name of project]. For the purpose of this tutorial, the name of my project is newapp. So, I will type in npx create-react-app newapp. It will take a while to create all the files and install the necessary dependencies. When it is done, you should see something like this:
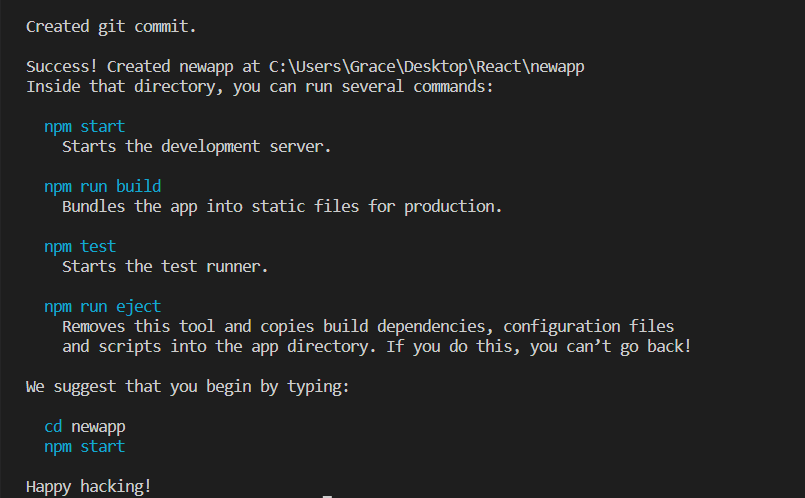
The next thing you should do is change the directory into the new folder created, which is newapp in this example. The command is cd newapp. This will help you see your changes in real-time when you run npm start.
When you run npm start, this is what is displayed in your terminal:

This is what is displayed on your screen:

As you can see from this image, your React application is displayed on localhost:3000, which is the default URL address for accessing your application in the development stage.
Now, you can begin to make changes to your project.
Vite
Let us consider another popular method of creating a React application. The command prompt for using vite (pronounced /vit/) to create a React application is npm create vite@latest. You will be asked a few questions, including the name of your project. You will also be prompted to choose the framework you intend to use. In this tutorial, I will be using React. Next, you will be prompted to select a variant. For this tutorial, I selected JavaScript. You should see this message on your screen:

Next, change the directory to your project folder. For this tutorial, it is called vite-project, and the command is cd vite-project. Next, run npm install. Once it is done installing the necessary dependencies, you will see this in your terminal:

To start your app, you will run npm run dev. This message will be displayed in your terminal when you run this command:

Now, go to http://localhost:5173/ to view your application, and you should see this on your screen:

Now, you can start making changes to your project.
To learn more about whether create-react-app or vite is best for your next project, check out this article.
Basic React Features
In this section, we will consider certain React features that are fundamental to working successfully with the library.
JSX
JSX means JavaScript XML (Extensible Markup Language). JSX is used to write HTML (HyperText Markup Language) in React. The developers of React recommend the use of JSX over HTML. This is because it reduces the build time of your application and helps you locate error messages faster.
Take a look at some examples of JSX:
const first = <p>Hello World!</p>

function Message() {
  return (
    <div>
      <h1>Welcome</h1>
      <p>Today is a good day!</p>
    </div>
  )
}
The second declaration in this example is called a functional component, and you should note that, for functional components, you can also use arrow functions.
From the examples above, you can see that JSX looks like a merger of HTML and JavaScript at the same time. However, there are some differences between HTML and JavaScript that you should note.
First, all JSX elements must be closed. This applies to both paired and unpaired elements. For paired elements like <h1>, the closing tags must be included. For unpaired elements, like <input>, the proper way to close them is to add a backslash before the second square bracket, like this: <input /> If you do not close elements in JSX, you will get an error message, as JSX is not very forgiving like HTML.
Second, class attributes in JSX are called className, not class.
Third, for large blocks of code, you should wrap all the elements in parentheses.
Fourth, it is possible to add expressions in JSX, much like JavaScript. You should note that these expressions have to be wrapped in curly braces.
const price = <p>This item costs {5 + 15} dollars</p>

function Logo() {
  return (
    <div>
      <img className="logo" src="" alt="" />
    </div>
  )
}
Virtual DOM
One important feature of React is the use of a virtual DOM. DOM stands for Document Object Model and is a representation of all the elements in a webpage. The DOM is used for creating, accessing, and manipulating elements on a page.
A virtual DOM is an abstraction and a lightweight copy of the real DOM. Unlike a real DOM, a virtual DOM cannot manipulate elements on the screen. A virtual DOM will also make changes only to the relevant node in the DOM tree, unlike a real DOM, which will update the entire tree when changes are made. One advantage of a virtual DOM over a real DOM, which makes React appealing, is that updating with a virtual DOM is faster and more efficient than a real DOM.
React Components
The first React component you will encounter when creating your React application is App.js. A React component is simply
There are two types of components in React: class components and functional components. Class components precede functional components but are currently not as popular as functional components.
Here is an example of a class component:
class Message extends React.Component {
    render() {
      return (
        <div>
          <h1>Welcome</h1>
          <p>Today is a good day!</p>
        </div>
      )
    }
}
To see an example of a functional component, go back to the first example under JSX.
Functional components are currently developers' favorites, and the reason is not far-fetched. Functional components are much easier to read and write than class components. Functional components also perform better and are easier to reuse. If you are interested in more differences between class components and function components, check out this link.
React Props
React props (or React properties) are inputs or arguments passed into components. According to W3Schools, React props are similar to HTML attributes and JavaScript arguments. Here is an example of how React props work:
import React from 'react'
import ReactDOM from 'react-dom/client'
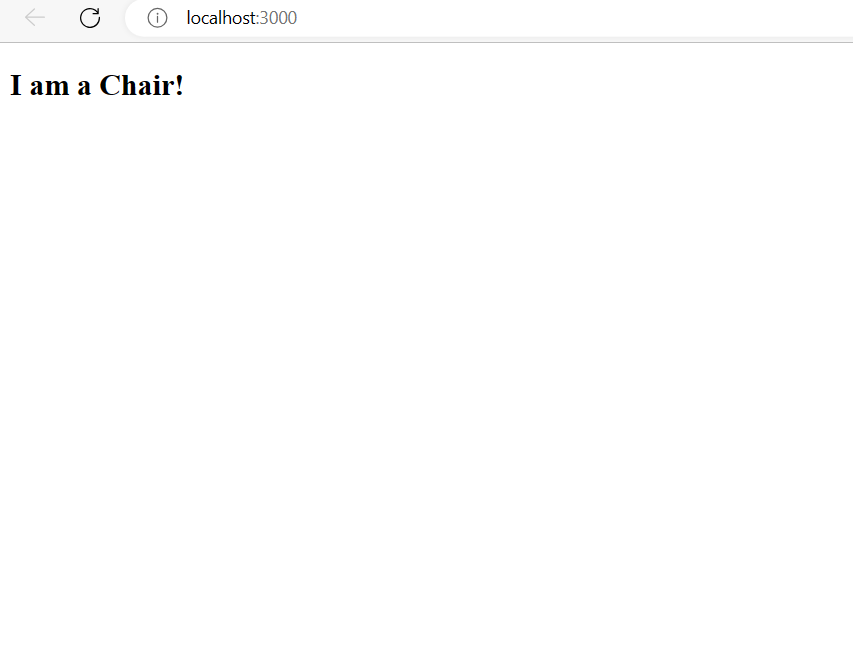
function Furniture(props) {
return <h2>I am a {props.type}!</h2>
}
const List = <Furniture type="Chair" />
const root = ReactDOM.createRoot(document. getElementById('root'))
root.render(List)
This is what is displayed on the screen:
Conclusion
In this introduction to React, we have discussed the JavaScript concepts that you should master before learning React. You have seen two ways to install React and get it up and running. You have also learned the basics of JSX, components, and props. There are other React features that you should master, like States, Hooks, React Router, and using React with Redux.


